Life in the Village and beyond, based around the interests of my life.

Life in the Village and beyond, based around the interests of my life. Sunset at Telegraph Point.

Saturday, August 23, 2014

Old Tools With Strange Trademarks

I was recently sent a request from a keen woodworker inquiring about the ancestry of a certain chisel.
It was an obscure trademark and unclear forging stamp that had him puzzling.
Here is the original correspondence:

Chisel Hallmark:
LION IS PRESENT ON EACH SIDE OF THIS TRADEMARK, LIKELY EUROPEAN

LOOKS LIKE

ACIBR FONDU

ANY IDEAS?
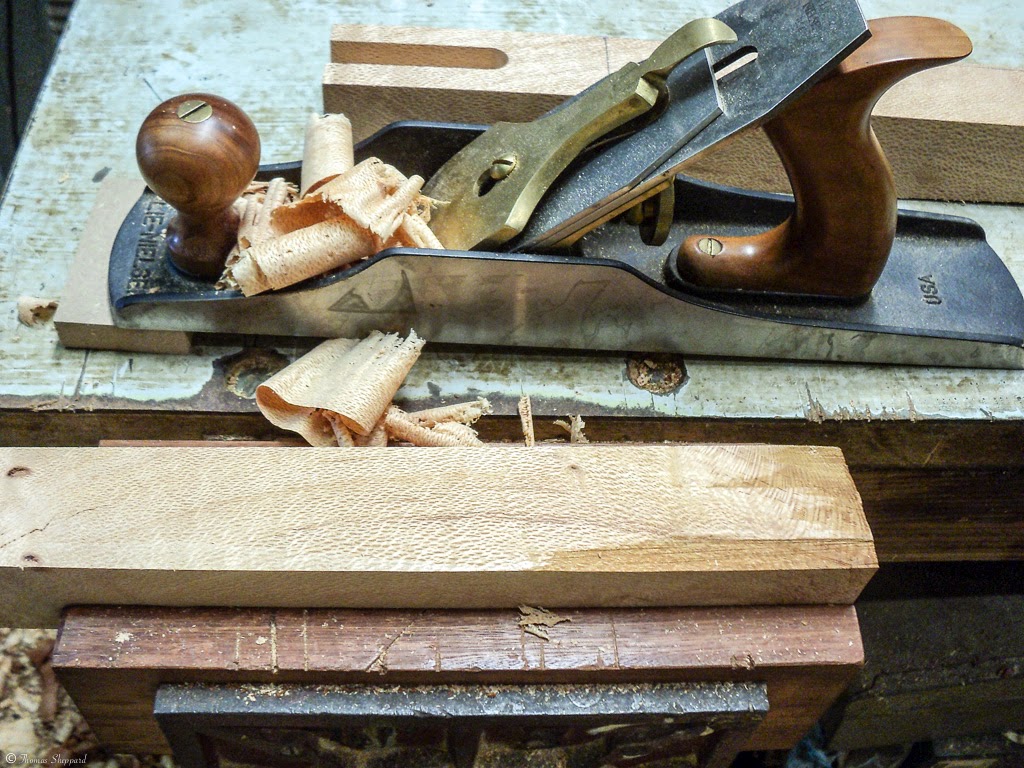
I had seen the logo before, as I have a plane blade manufactured by the same company, but the language was near indecipherable.
Here is the follow up picture:

 The logo should be familiar to any motoring enthusiast.
It is this one:
https://blogger.googleusercontent.com/img/b/R29vZ2xl/AVvXsEh4eGGMawO9CiLNMAFuyxL5yET-jaAAlPizdRymZyE2caZL8_l2cHYJuO5mwlgahCnYb-_XsEX7r2GLbcYMVrvtCe2p8R9ZhGJcTN0RJjacxOulLKwFXrSYDKuZO7-P128MCjsTFU9uzdg/s1600/peugeot09.jpg

 Yes, the same company that makes these beautiful cars has been in existence for over 200 years as a steel maker.  It has had steel foundries in France since 1810.

Here are its historical logos with dating.

As for the inscription on the chisel - 
Even though it is quite worn, it reads:

PEUGEOT FRÈRES 
ACIER FONDU 

Which in English reads:

Peugeot Brothers
Cast (literally - molten) Steel 

Now these steel products are not common across the Commonwealth of Australia, but are certainly the equivalent of some of the English and US tools of the same period.

My friend should be very happy with his find, as it will give many years of satisfying service - and as a bonus is a link to toolmaking history after the Industrial Revolution.

Happy shavings my friend


Thursday, August 14, 2014

Fixing Your Mistakes - How to Repair an Unwanted Mortice

It happens to everyone sooner or later - that moment of lapsed concentration or simple tiredness that results in a seeming catastrophe.
We should listen to our bodies more - when the body is saying enough - and we decide that we will do just that little bit more - we create the circumstances for errors to occur.

Happened to me a few days ago at the end of the day (of course - haha)
I had cut the legs for a hall table, and had decided that it wouldn't take long to cut the mortices before I finished for the day.

The first three legs went swimmingly.  It was the final leg that ended with the same number of mortices as the other three - only one of them was on the wrong face of the leg.
That sinking feeling started when I realised that I did not have any more thick stock to make a replacement leg.
What to do?
  1. Put it down
  2. Turn off the power
  3. Close the workshop for the day
  4. Make a cup of tea and just sit a while
By the next day I had figured a solution and decided to document it for anyone else caught like I was.
First step was to cut the mortice where it should have been the first time.
Secondly - make a matching infill piece to hide that errant mortice.


Here is the offending leg with one too many mortices.
The correct mortice was cut while the leg is still square.  Now to fix the extra one.


First step is to find some matching timber.  Here I have an offcut from the current project.
The timber is silky oak.


Of course, being an offcut, it is a little rough around the edges - so some truing with my 5-1/2 plane is called for.


I am going to make a fill piece that will hopefully not be noticed too much when finished.


I am cutting this over-sized as I want to taper the plug for a tight fit.


I start by using my plane (Lie Neilsen 5-1/2 in this case) and slope one side of the tapered plug.


Next, I cut the other side at a similar taper using a rip saw - this is an Atkins.


More planing after the cut is made - and here is the tapered plug


Trial fit........


The end is rounded following the circle drawn with a pair of compasses.
Note that the circular end is also tapered.


Looks pretty snug .......


Glue-up and clamp overnight.
Trim to size and plane back flush with the surface.


Here is another shot with the colour subdued.


Bob's your uncle!
And here is the finished table awaiting lacquer:


My workshop is sooooo dusty and shavings-covered, that the lacquering will take place on the back verandah - when the wind stops (haha)


Happy shavings to all
Tom

Monday, August 11, 2014

Building a Rosewood Hall Table Part 2

The Table Top

Once the slab has been sized for the table top, the edges need dressing and squaring.


Once again I use the Stanley 31.  It is as long as a number 8 plane but somewhat lighter to use.
I am appreciating this in my handtools more and more.
Once the plane is taking full length shavings, then the edge is fully clean and flat.


By contrast, the front edge is still a little daggy.
I want to preserve the rough look but there will be a finish on it so the edge needs cleaning up.

I am using a carving chisel to clean out the hollows and to enhance the edge with a "natural" look.


Here is the table-top prior to final sanding.  It will stay this way until after construction is complete.

Layout of the Parts


The four finished legs now are laid out showing their taper.  There is a little sapwood in two of the legs.  I think I will try these at the front.


The four rails are laid out with their tenons almost complete.  There will be a small amount removed from the bottom of each tenon to help the edges cover the joint completely.

The piece on the right front is a strengthening rib for the middle of the frame.
It can be seen in the layout below.


A housing will be cut into the front and back rails to take this strengthening rib.
Note also that the sapwood in the rails shows continuity through the corner.  These rails will form the front and the solid rosewood coloured rail will be at the back.
I like the aesthetics of this arrangement.

Sanding and Finishing

It is much easier to do this before assembly so I try to have most of my surface preparation done prior to glue-up.


Care must be taken with the mortice and tenon areas so that the timber is not sanded out of square - otherwise there will be gaps after glue-up.


The table top will be held in place by buttons and will be fitted last.


Several coats of lacquer - with a light sanding between coats - will be all that is needed to finish the table.


Found the camera - hooray - images added above.
There are only the coats of lacquer to go.
Happy shavings to all.

Tuesday, August 5, 2014

Building a Rosewood Hall Table Part 1

The ukulele is progressing, but has gone on the back burner while this commission is completed.

Preparing Stock 

For this hall table I will use some very old Australian Rosewood.
It was felled over twenty years ago and has sat around all that time waiting to be turned into something beautiful.
Hope I do it justice.


The exterior of the rosewood has deteriorated but the timber underneath is quite lovely.


The bandsaw makes short work of ripping down to size.
Here I am cutting the legs.


Note the push stick on the right for assisting with the feeding when using the fence on the bandsaw.
Saves losing fingers if things slip up.

Here is the slab that will become the top of the table.

Already some interesting grain is evident and this will need to be watched to prevent tearout when working with tools.

There is a natural edge to this slab which I will preserve as the leading edge of the table top.
It is weather beaten and grungy, so it will need refining when the time comes.

In its present shape this slab is too long and will be trimmed to size, being careful to remove as much cracking and checking (see far end)   as possible.

Next step will be to mill the legs.  These will be square in section at first but will be tapered later.

The four legs are all 45mm square to begin with.

First step will be to cut these to length.

Before tapering, the mortices that will house the rails will be cut.  It is much easier to do this with square stock than with tapered stock.

Also, the rails need to be housed in mortices that are square to the rail ends.

The grain in the legs is not straight, and has a distinct sloping attitude to it.  I will use this to advantage when it comes time to taper the legs.  The tapers will follow the grain.

Next step is to cut out the front and back rails as well as the side rails.

These will be the same width and thickness.


Here I have cut more rails than I need.

there is some checking towards the ends of the individual timbers and the grain varies with the timbers used.

There is also some significant sapwood that shows some signs of  insect larval damage.

I want to use the sapwood in the design if possible, but will carefully remove any damaged sections first.


The rails need truing and the bandsaw marks need removing from the edges and faces.
Here I am using a Stanley Number 31 transitional plane as my jointer.


The edges are checked for square against a strong light.  As you can see, this edge still needs work.

The Legs


Once the legs have had their mortices cut - I use a router for this - then the legs can be tapered.
A rough taper is cut on two faces of each leg on the bandsaw.


The legs are then smoothed using the Stanley jointer once more.


Once smooth, the edges need to be dressed to prevent splintering and the base of each leg chamfered.


This chamfer stops the bottom of the leg splintering, and also creates a shadow line under the foot - adding a little elegance.

In the next part, I will dress the table top and gather all of the parts before final assembly.

Tuesday, July 15, 2014

Making A Boat Paddle Tenor Ukulele - Part 11 - Fine Tuning and Trial Fit

I have looked back on my first ukulele build, and I can't help comparing it with my current project.
I have noticed that I have become less structured, and more chaotic in my approach and the documenting of the process.
I think that this is a reflection on life as I am experiencing it at the moment.
There are so many irons in the fire, and I feel like a juggler in a three ring circus.
How the pace of our lives keeps changing!
Yet we adjust to the exigencies of the present.


Trial Fitting the Neck and Body

The tenon that is the middle lamination on the neck will fit into a mortice that I cut into the neck block.  This explains why the neck block was so large to begin with.

I use a tenon saw with a fine kerf, taking care not to cut too far into the neck block.  It needs to hold the whole cutaway top together.


After cutting the mortice to depth, the waste is simply chiselled out and the cavity tidied up.


Here is the neck tenon and its mortice - ready for a trial fit.
The fit should be snug but not over-tight, and it should bring the shoulders of the neck flush with the top side of the body.


I had a fair bit of fiddling around with a little block plane and edge rebate plane until I was happy with the fit.


The thickness of the soundboard determines how far above the body the neck will sit.
I have kept an offcut of the soundboard to use as a handy gauge of where the neck will go.
This is important as the fretboard will be glued over both of these, and they must be in the same plane.


Here is a better view showing that the neck sits a little above the body, so as to leave room for the soundboard skin to fit perfectly.


Trial Fitting the Front and Back

I spent the rest of the afternoon trial fitting the front (the soundboard) and the back to the body.
This is done by trial and error, as the linings cover the mating surfaces - and need to be checked constantly.


Small checks are taken out of the linings to accommodate the cross braces.
As can be seen here, I am working on the soundboard/body fit at this point, and you will notice that I have not yet glued in place the re-inforcing strips that will sit between the fan braces.
These will become the backing for the bridge.
I'll do this while the back is glued to the body and is drying.  The two can dry together.

Once I am happy with the trial fit of the front, I'll put it aside and work on the trial fit of the back until I am happy with that.

Next step is to glue the back in place.

Thursday, July 3, 2014

Making A Boat Paddle Tenor Ukulele - Part 10 - Assembling all the Parts

Roll Call of Parts

Here are the front and back skins that were made previously.
At the moment they are over-large, and they will be trimmed to size after gluing them to the body.

Shown below are almost all of the parts - assembled before fitting and gluing together.

From top to bottom:
  1. Body
  2. Four tuners
  3. Laminated neck
  4. Headboard - to be glued on before tuners are added
  5. Fretboard and 
  6. Nut
  7. Bridge
  8. Back skin
  9. Soundboard


There is much remaining to be done.


Final Assembly Steps

Here is a guide to the remaining steps in order.
  1. The mortice for the tenon on the neck, has to be cut into the neck block on the body.
  2. The neck is only roughly formed and needs shaping.
  3. The fretboard needs to be laid out, and cut for the fret wires.
  4. The fret-wires need to be inlaid.
  5. The back needs to be glued in place.
  6. The neck without fretboard is glued to the body - before the soundboard is attached (see number 9 for care in fitting).
  7. The soundboard is glued to the front - covering the neck tenon (see number 9 for care in fitting).
  8. The fretboard is glued in place, over the top of the neck and over the top of the soundboard.
  9. It is important that the top surface of the neck, and the top face of the soundboard are in exactly the same plane when finished, so that the fretboard covers them cleanly.
  10. Headboard and nut are glued in place, and trimmed to fit the outline of the headstock.
  11. The holes are drilled for the tuners.
  12. Final trimming, and the body cleaned and sanded.
  13. The bridge, nut and fretboard are covered with tape to protect them from overspray - and the whole body is given several finishing coats of lacquer.
  14. Tuners are fitted, and the ukulele is strung for playing.
Since the neck is my next major project - here are its parts laid out:


As you can see, the fret-wire comes in lengths to be cut as applied.
The fretboard is already inlaid - I did not do this lovely work - a skilled artist in Saigon was responsible for this, and I purchased several of these inlaid fretboards for the ukuleles that I intend making.
This is the first time that I have used such a fretboard, and am excited to be able to include it.
It is Indian rosewood inlaid with mother of pearl and abalone shell.

The tuners shown are black, but I may change these to ivory if I think it suits the finished uke better.

OK - enough for now.
I'll post again as the assembly process continues