After the soundboard is assembled, and before I fit it to the body, I will have to cut the inlay for the rosette, as well as the sound hole itself. So I need a circle cutter.

I found a couple of scraps of jarrah which will serve nicely, as well as a sliver of tool steel that has been kicking around the bottom of my tool box for decades. I can't remember where this originally came from, but it will make an ideal knife.
Other blade materials could be an old jigsaw blade, or a piece of hack saw blade or bandsaw blade - ground to shape.
I ground a skew before establishing a bevel, then sharpened on my oilstone and honed on white arkansas.

My first step was to cut a piece from the side of the scrap - the same width as the knife blade. This will be used for the wedge to hold the blade in place, as well as the sides of the body.
The knife will be positioned towards the end of an arm that slides within the body, and is held in place by a second wedge. More on this later.

I start with the housing for the blade and its wedge, and make sure that this is finished before shaping the arm that carries it. This is important, as it gives a solid block to work with while cutting the housing.

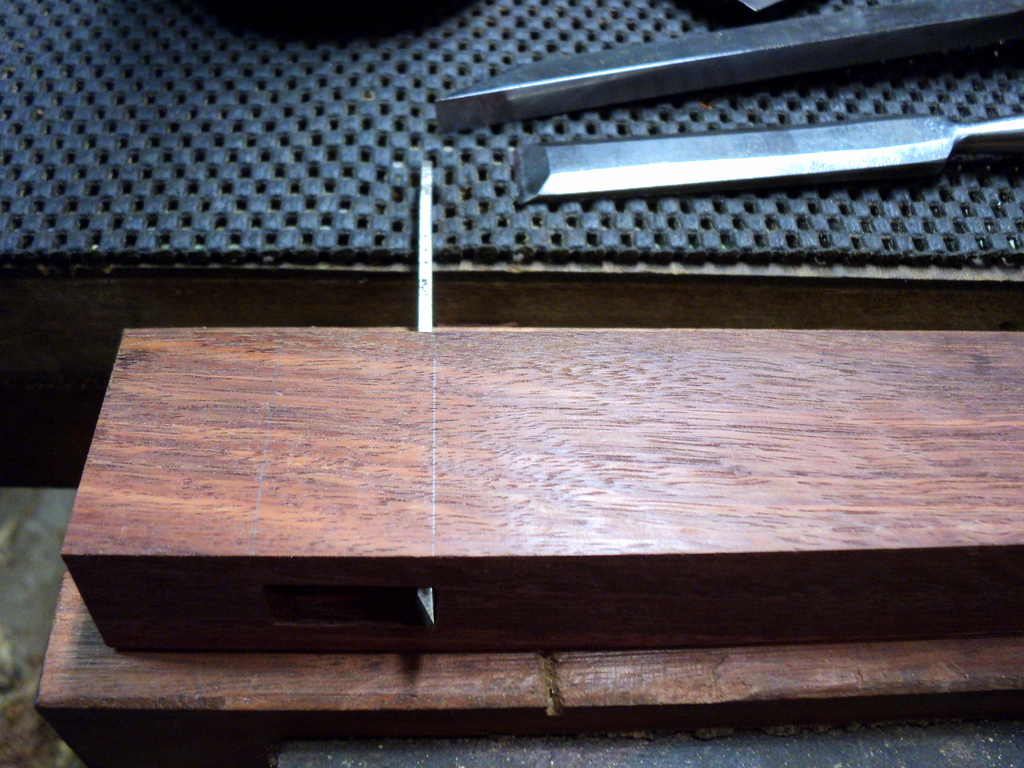
The housing is cut just like a through mortise. After marking it out, I drill out some of the waste - from both sides toward the middle (to stop tearout at the bottom), which would happen if drilled all the way through from the one side.
The knife side is that end of the housing closest to the body, so this has to be vertical. The outside end of the mortice is sloped to take the wedge. Don't reverse these, as this puts the knife too far away from the centre point, and limits the size of the minimum circle that can be cut.

I use a Narex morticing chisel and one of my bench chisels to clean up the inside walls. The Narex is made in the Czech Republic, and while cheap to buy, is well up to the task of handling this hard old jarrah. The bench chisel is a Pexto - nee Peck, Stowe and Wilcox - one of the best from the golden age of US tool manufacturing, and up there with Swan and Witherby.
Once the housing is finished, the sliding arm can be shaped. I keep the offcuts to be used in the body and the wedge, as they are exactly the same width as the sliding arm. Two pieces from the first ripping and the offcuts make up the body - glued and screwed.


Cut the wedge for the knife, and glue and clamp.
Insert the centre pin, (a broken drill bit) and - voila - all done!

So ............... how does it cut ................?

Not too shabby at all .....................

Love life and live .......................
No comments:
Post a Comment