A few more steps before the back is finished. Firstly the bracing needs thinning down to reduce weight, and hopefully improve the sound.
I use a Stanley 102 block plane, which suits this task very well, as it has curved sides. A straight sided block plane would put undue pressure on the already curved back and may cause cracking. The little wood block is used as a side support for the brace while planing.
Lie Nielsen claim that the
tiny violin plane was based on the
Stanley 101, but I think that it more closely resembles the 102 - which is itself a small block plane. The 102 is one of the simplest of all planes with no adjuster, yet it works like a charm.
You can see the similarities here.
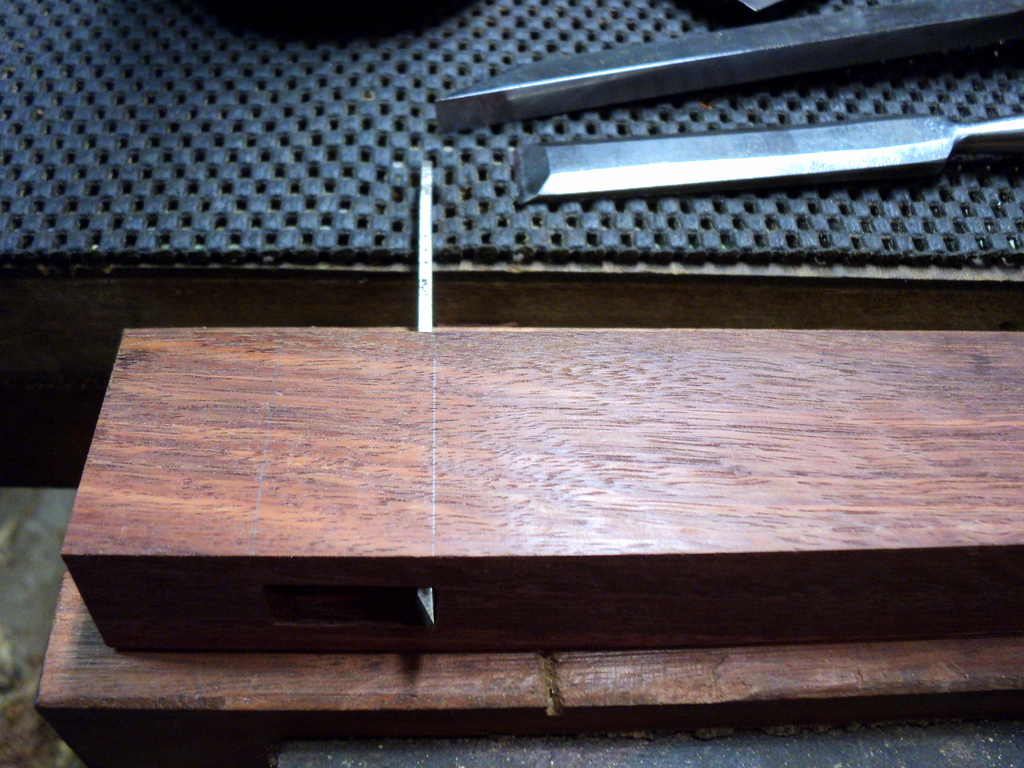
Once the bracing has been shaped to an appropriate profile, it is time to pare off the ends - to create a smoother interface with the sides, and to fit into the linings.
Traditionally, this has been done with a paring chisel, and the ends are scalloped in a rounded taper.
I used a long handled Japanese paring chisel as it gives more control in this situation.
The ukulele back is rounded from the application of the curved bracing, so the edges need some support while paring.
An offcut from the neck serves well here.
Here is the near finished back showing both sides.
It will sit on the body which is slowly taking shape.
I have bent one of the sides, and it is sitting in the mould, drying, while I work on the neck. The bending was a tortuously slow process of heating, bending a little, heating some more, bending a little more - and trying it on the curve of the mould - repeat over and over - ad infinitum.
It took me a full morning to form up that one side.
The Neck
Now to put the finishing touches to the neck. I was dreading this, thinking that I would either utterly destroy it, or end up with something resembling an Irishman's buckthorn
shillelagh.
Happily, it went well, and I am pleased with the result.
After rough shaping with coarse and fine rasps, I started on coarse sandpaper - 80 grit in this case.
I then worked my way through four more grades of sandpaper - from coarse 120 grit up via 180 and 220 to finish on 320 grit.
There were still some parts that were a little rough and needed the attention of a scraper.
Here it is near finished.
While it doesn't resemble those immaculate CNC creations that grace commercial ukes, it isn't too shabby either.
I have glued a piece of eucalypt burl veneer - with a similar colour to rosewood - to the face side of the headstock. It should dry overnight.
I'll cut it to shape tomorrow after it dries.
All in all, not a bad day's work.
I am beginning to wonder why ukuleles don't cost around $1000 each, given what I am finding has to go into their construction.
Next step will be part two of the body - I am getting the bends just thinking about it ..........
Love life and live ..................